How To Model Your Characters And Sets
In 3D animations modeling is the process of building a model being used later on to generate the rendered image.Having finished the storyboard you should have a rough idea of what your characters and sets would have to look like. To start with, Blender provides a series of default object types to choose from. Each type has its advantages in specific modeling and the decision of which object to take is quite important. Nevertheless, objects can be converted during the modeling process.
Default Mesh Objects
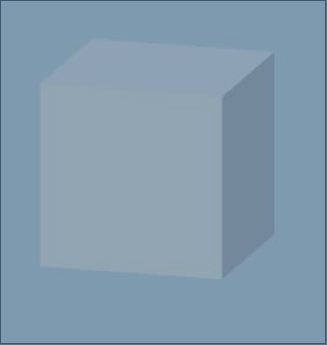
Mesh Objects are the most powerful to model and also most convertable, that's why they are the most important category.The default mesh objects are a plane, cube (Picture), circle, UV-sphere, Ico-sphere, cylinder, cone, grid, monkey, torus and an empty mesh. The empty mesh is basically just a pivot point.
Technical Background
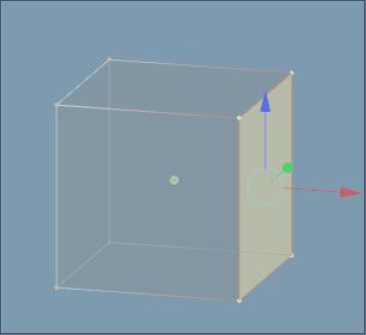
These objects are defined by vertices, straight edges connecting them and spanned faces. Due to the freely movable vertices there are nearly unrestricted possibilities for modeling. However it is only possible to create faces with either three or four vertices. For instance a pentagon needed to be formed by a triangle and a rectangle.Editing
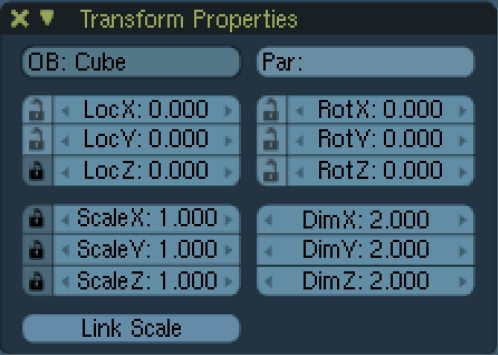
Most of the editing tools only work on mesh objects, that shows again the importance of mesh objects. An object can partly be edited in object mode. That is the case for changes made to the whole body. For example scaling or rotating an object. These can also be edited in the transform properties panel (Picture: transform properities panel). There certain properties can also be locked to not be editable anymore. The biggest part of the modeling is directly done with the mouse and the keyboard. There are some important hot keys giving all the means needed to model.Hot Keys
S: scale the object or selected vertices (scales the edges connecting the vertices)R: rotate the object or selected vertices
E: extrude, it is possible to only extrude vertices or edges, but also regions (faces)
G: grab the selected objects or vertices and translate them
F: face the area among the selected vertices
H: hide objects or vertices to focus better on certain objects or parts of them
To get exact numbers for translating, rotating, etc. first select the operation you would like to apply and then simply enter the number.